Intro
Adding bleed and crop marks to your artwork will help ensure that we can trim your job neatly and perfectly, leaving a pristine end result.
Crop marks allow us to see the exact size of your document and show us where to cut it, and bleed prevents white edges caused by slight paper movement during trimming.
If you aren't sure how to add crop marks or bleed to your artwork, scroll down and read our quick guide.
Creating Your Document
- This is the first thing you'll be asked to set up when opening a new Illustrator, InDesign or Quark document.
If the dialogue box doesn't appear, you can select File » New Document to create a new document (see fig 1.1). - Choose either a standard, pre-set or custom paper size.
Setting Up Bleed on Your Document
- You'll notice an area within your document size dialogue box called 'Bleed and Slug' (InDesign users need to click the 'down arrow' to the left of the Bleed and Slug option).
- Set the bleed to 3mm and then click the 'Make all settings the same' icon link and click 'OK'
- Your page/art board will now have a black edge to show the document size and a red edge to show the bleed area.
- Ensure all your artwork touches this red edge. When it's done, the document will be cut along the black edge (see fig 1.2).
Note:
Quark users will have to manually extend their objects off the page (by 3mm minimum) and add bleed when they come to export or print:
Exporting: File » Export » Layout as PDF » Options (bottom of the menu) » Bleed » Set your amount to '3mm'.
Printing: File » Bleed » Set your amount to '3mm'.
Fig 1.1
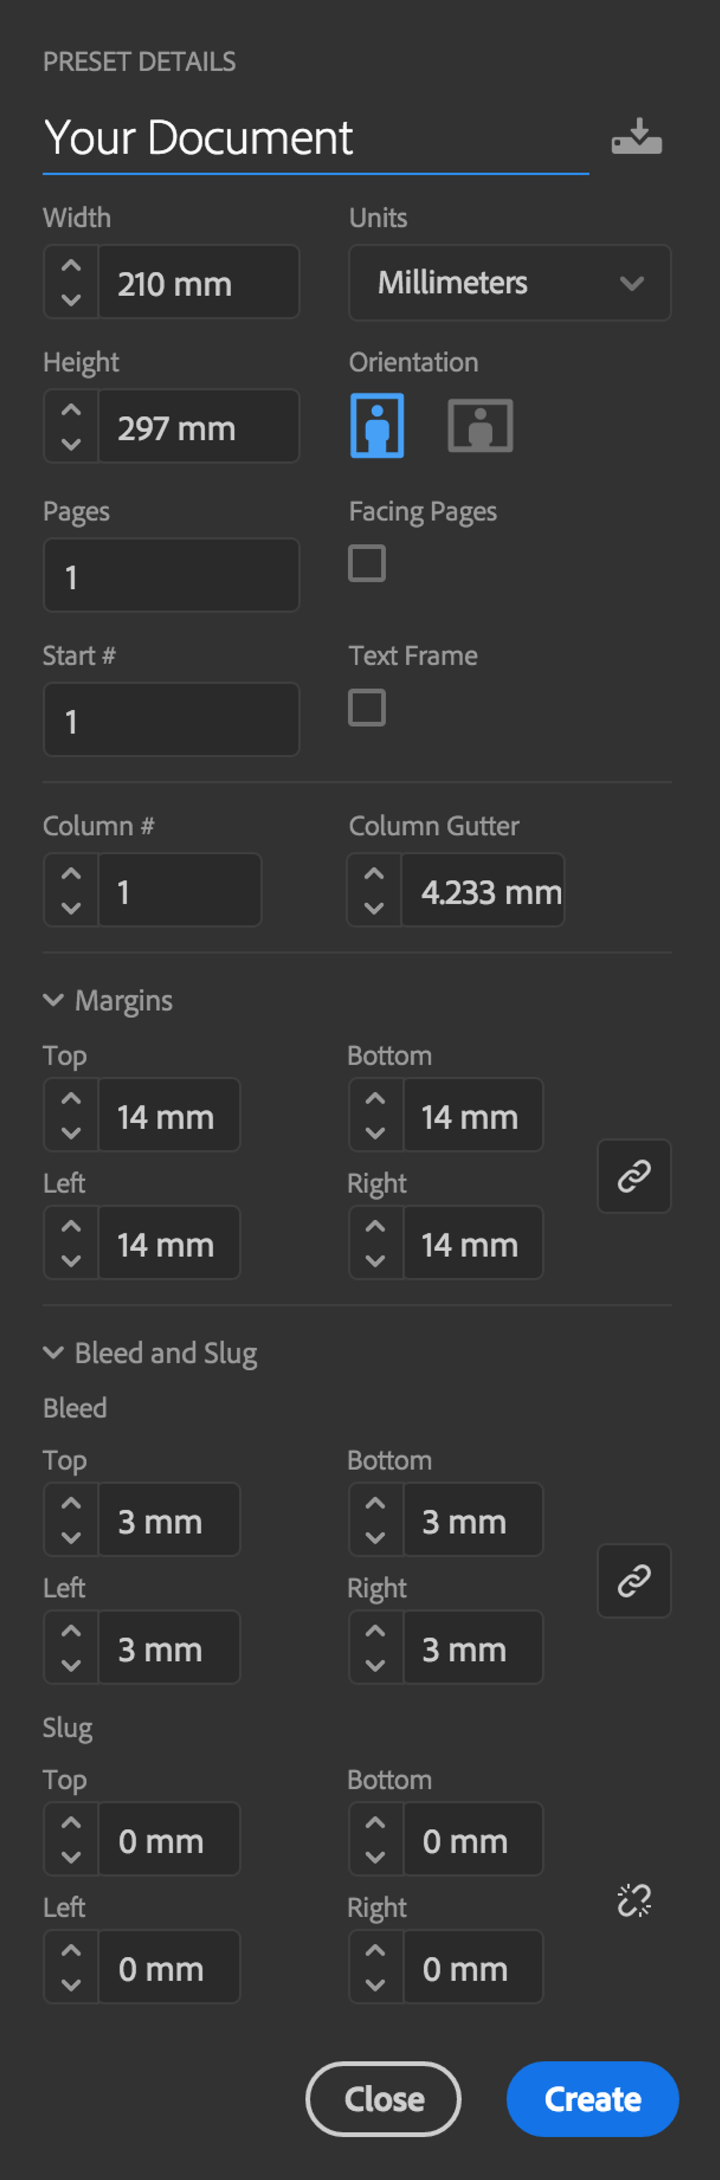
Fig 1.2

Exporting Your Artwork
Once you've finished your design, you'll need to export it correctly (see tutorial) with the document bleed settings and crop marks turned on.
Go to the 'Export' dialogue box (see fig 2.1):
- InDesign: File » Export » Adobe PDF (Print)
- Illustrator: File » Save As » Adobe PDF
- Quark: File » Export » Layout as PDF
InDesign and Illustrator users:
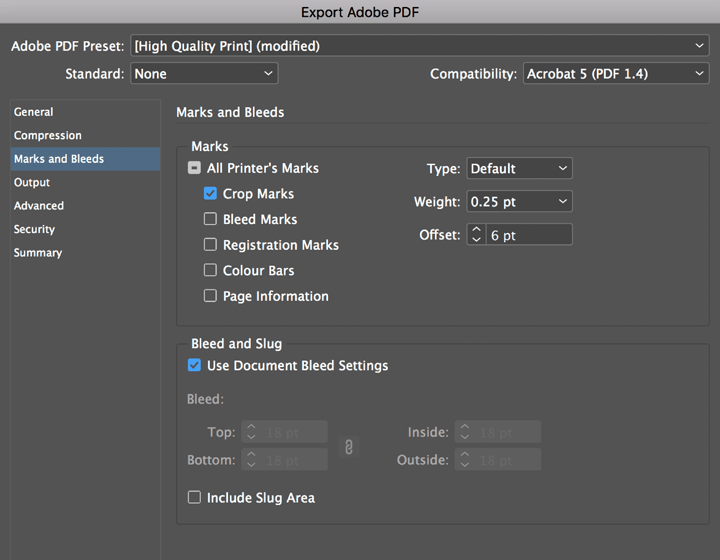
Go to the third option on the left under 'Marks and Bleed' and turn on 'Crop Marks' (ID) / 'Trim Marks' (IL) as well as 'Use Document Bleed Settings' (ID & IL). (See fig 2.2.)
Quark users:
File » Export » Layout as PDF » Options (bottom of the menu) » Bleed » Set your amount to '3mm'.
Then apply the crop marks by going to: Marks » Turning on 'Centred' and making sure 'Include Bleed Marks' is ticked.
Note:
Please leave all the 'Offset' options for crop marks on the default settings.
Once you've exported your artwork, you'll see the crop marks positioned over the bleed area. This is where the guillotine operators will cut.
Fig 2.1
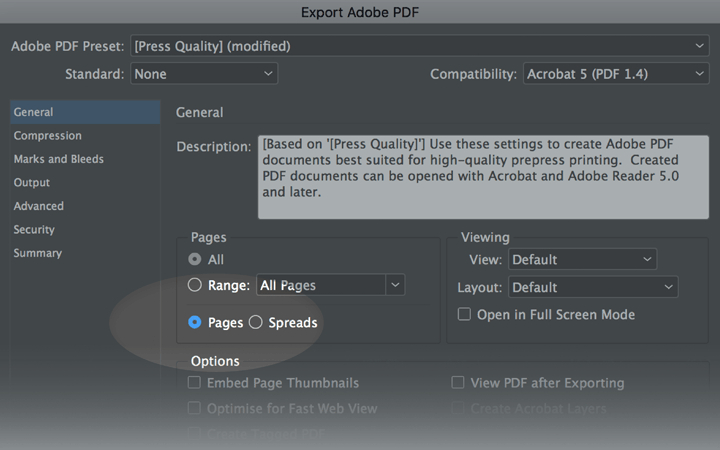
Fig 2.2
Applying Bleed to Cutter Guides
You'll also need to manually add bleed to your document if you're planning to have your print die cut.
The best way to do this is in Illustrator:
select all of your artwork (not including the cutter guide) then go to:
Effect » Path » Offset Path »
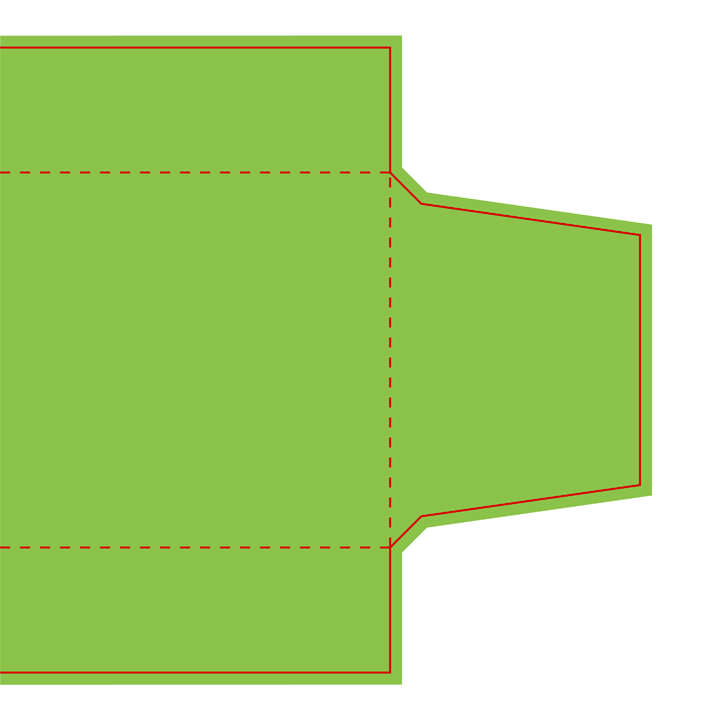
Type in '3mm'. You will notice that a 3mm rim has been applied to all of the artwork (see fig 3.2). This means that any misalignment will go unnoticed once the print has been die cut.
You won't need to add crop marks to die cut print files because the cutter guide is fixed in place.
Fig 3.1
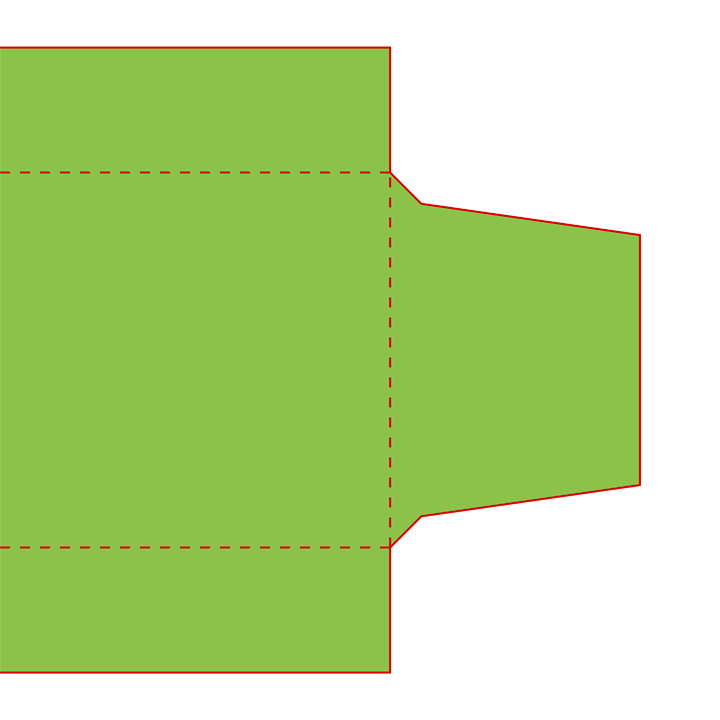
Fig 3.2
What Can Happen if You Don't Add Bleed?
Uploading artwork that hasn't been supplied with bleed means you run the risk of white edges ruining the finish of your print (see fig 4.1).
By providing an extra 3mm, any slight paper movements that occurs during the trimming process will go unnoticed (compare the difference fig 4.2 to fig 4.3).
Fig 4.1

Fig 4.2

Fig 4.3

Extending Bitmap Images
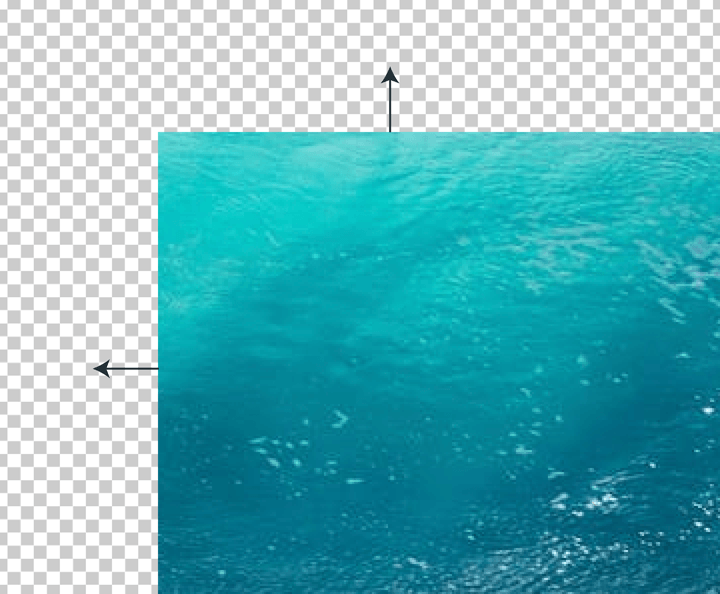
Although extending objects into the bleed usually just involves clicking and dragging (see fig 5.1 and fig 5.2), extending Bitmap images is slightly more complex.
Extending images like photographs can leave them looking stretched and distorted (See fig 5.3). Here are some simple ways to extend them:
- Enlarge the image proportions over the bleed area and let the bleed crop off some of the image (see fig 5.4).
If you can't enlarge the image proportions, you can try extending the pixel dimensions of your image in a Bitmap editor like Photoshop:
Photoshop: Image » Canvas Size - Add 3mm to the edge/edges you want to extend. See the dropdown menus to change the units from pixels to mm (see fig 5.5).
- Fill in the newly created transparent area with something similar to the original image. You can do this with the 'Clone Stamp' tool in Photoshop.
- Replace the image into your InDesign / Illustrator / Quark document and export your artwork.
Fig 5.1
With bleed
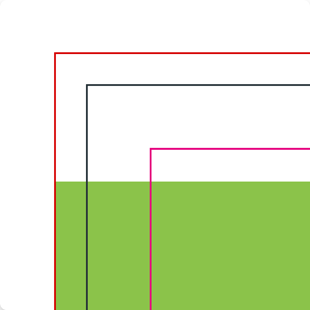
Fig 5.2
Without bleed
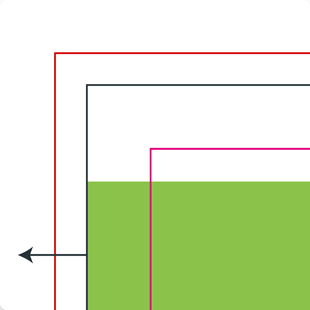
Fig 5.3
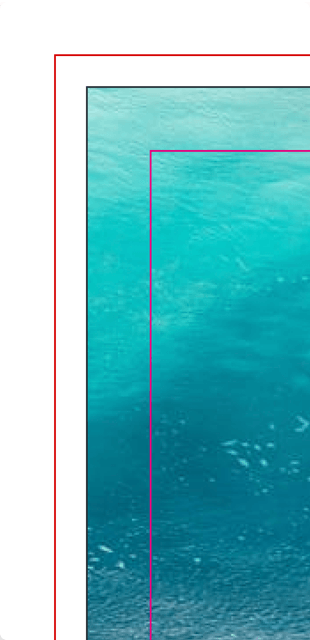
Fig 5.4
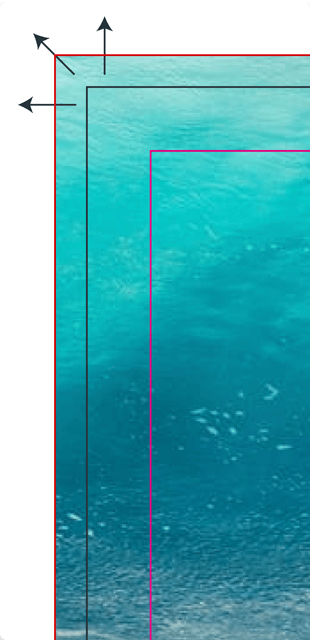
Fig 5.5
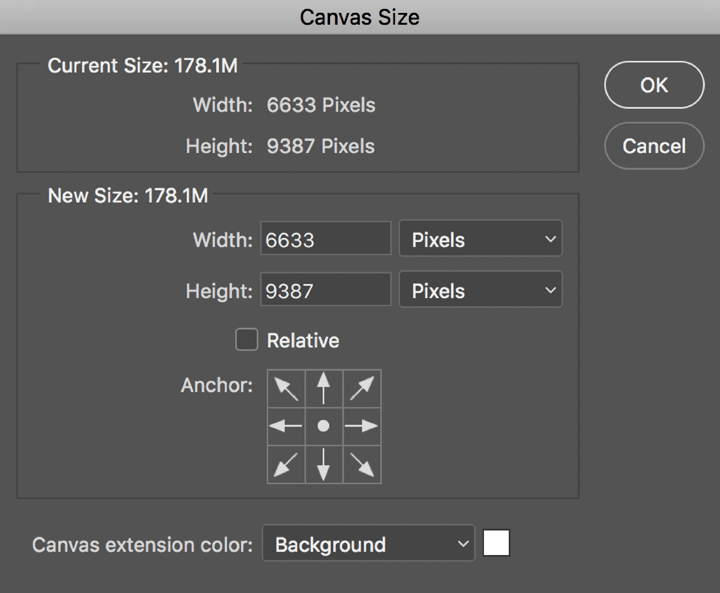
Fig 5.6