Intro
When your design is ready to go to print, you'll need to ensure you export it as a press-ready PDF, complete with bleed and crop marks. Here are some basic steps to help you create yours.
Methods
Pre-sets and General Options
To ensure that your file prints perfectly, you'll need to select certain options when exporting your PDF:
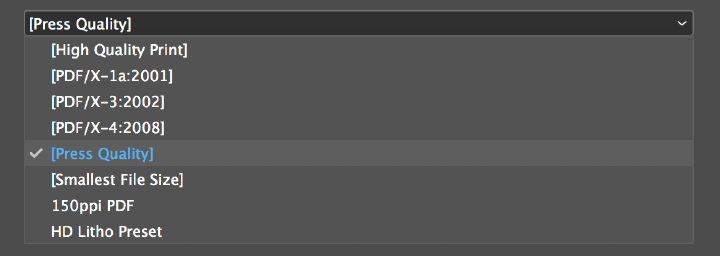
- In the 'Export' dialogue box, select the dropdown menu at the top to define the 'Pre-set'. For InDesign and Illustrator users this is called 'Adobe PDF Pre-set' and for Quark users this is called 'PDF Style'.
- 'Press Quality' (ID & IL) and 'Press' (QU) pre-sets should be selected. (See fig 1.1).
Fig 1.1
Note:
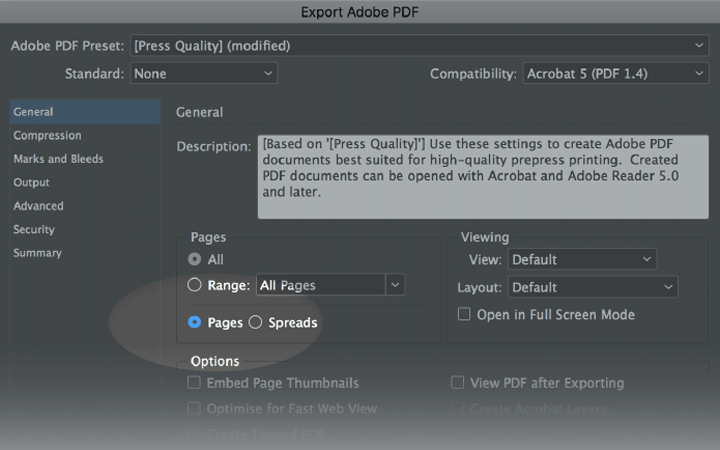
Documents, books and brochures should have all pages uploaded as 'Single' page PDFs with bleed and crop marks. (See fig 1.2).
Fig 1.2
Crop Marks and Bleed
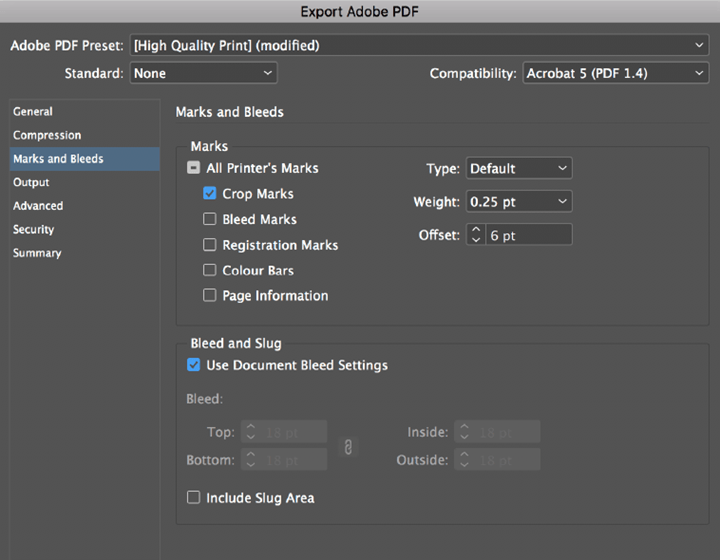
Before uploading your PDF, make sure that 'Crop Marks' and 'Use Document Bleed Settings' are both turned on. (See fig 2.1).
Fig 2.1
Once you have exported your artwork, you'll see the crop marks positioned over the bleed area of your artwork. (See fig 2.2).
Fig 2.2

If you didn't create your artwork with bleed, you’ll need to drag all artwork 3mm over the document edge.
For more help setting up bleed and crop marks, take a look at our tutorial.
Summary
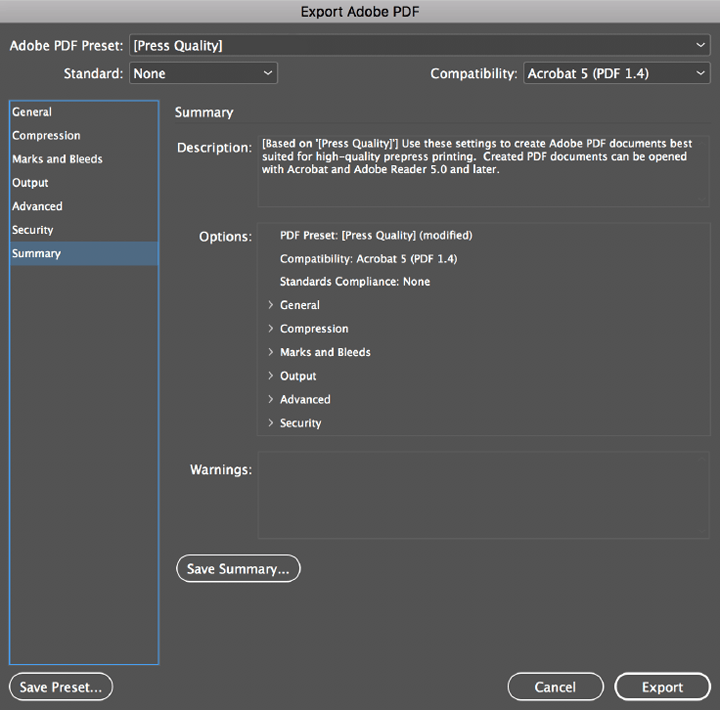
Checking the 'Summary' section of the 'Export' dialogue box will display all the options you have chosen and will flag up any warnings or errors before you export. (See fig 3.1).
Fig 3.1
Saving a Pre-set Paragraph
Saving a Customised Pre-set
You can save time by saving your own customised pre-set—this will mean you don't have to set up your document each time you want to design for print.
- Click the 'Save Pre-set…' button in the bottom left corner and then name it.
- Your pre-set will appear in the dropdown menu 'Adobe PDF Preset' (ID & IL) and 'PDF Style' (QU) at the start of the 'Export' dialogue box.
- You only have to save a preset once for it to appear in the 'Export' options in Photoshop, Illustrator, InDesign and Quark. (See fig 4.1).
Fig 4.1
